




























Setup takes three parts: install and activate the license, enter your CCAvenue credentials, then choose the region and checkout style. Have your credentials ready from the previous guide.
Step 1: Install and activate your license
- Install and activate the plugin. See “How to Install a Plugin From a ZIP File” in Getting Started.
- In the WordPress admin, open CCAvenue Gateway and then PRO License.
- Paste your license key and activate it.
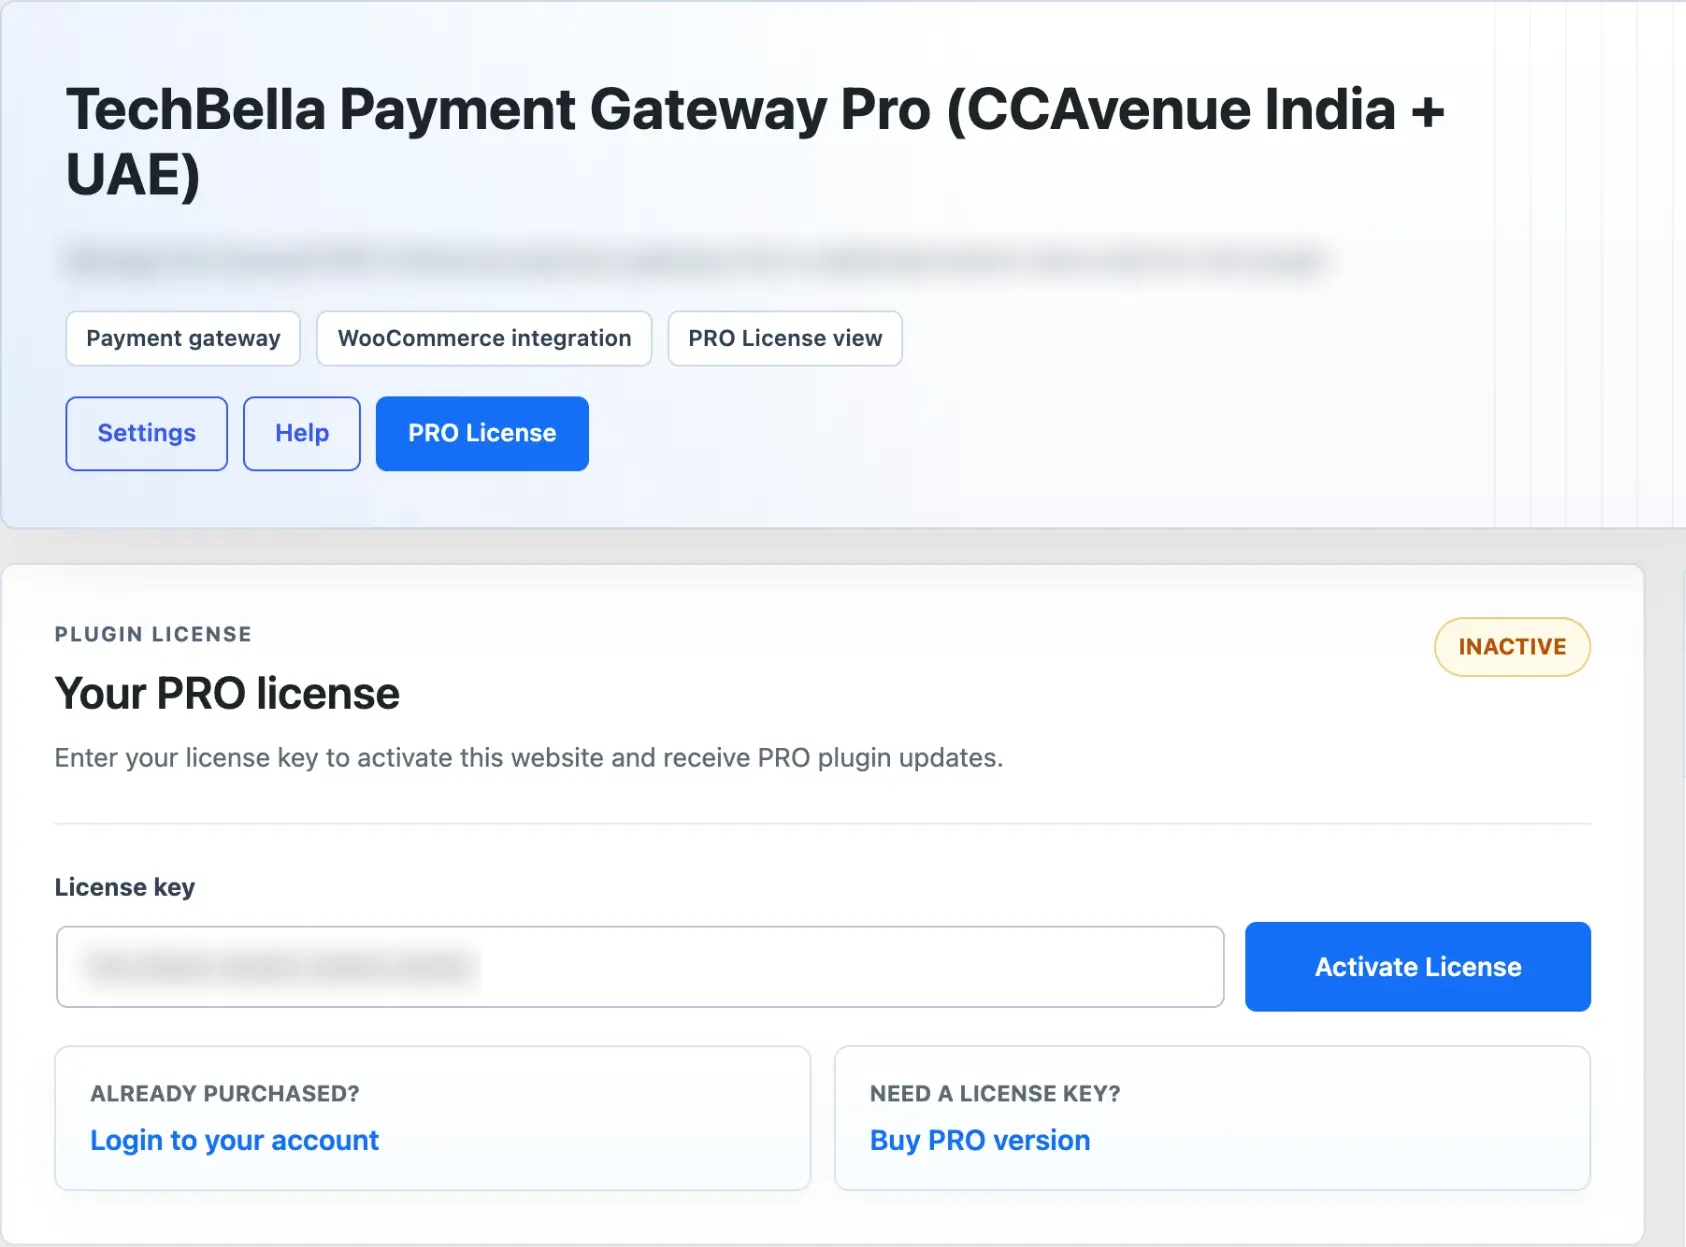
Step 2: Enter your CCAvenue credentials
- Go to WooCommerce, then Settings, then Payments.
- Enable CCAvenue Gateway and open its settings.
- Enter your Merchant ID, Access Code and Working Key.

Step 3: Choose the mode, region and checkout
- Under Payment Mode choose Sandbox Mode while you test, or Live Mode for real payments.
- Under CCAvenue Region choose India or UAE / Middle East to match your merchant account.
- Decide whether to use iFrame checkout. See “Redirect Checkout or iFrame Checkout”.
- Click Save changes.
Check that it works
Open CCAvenue Gateway in the admin menu. The readiness dashboard shows whether your credentials are present and which mode, region and checkout flow are active.
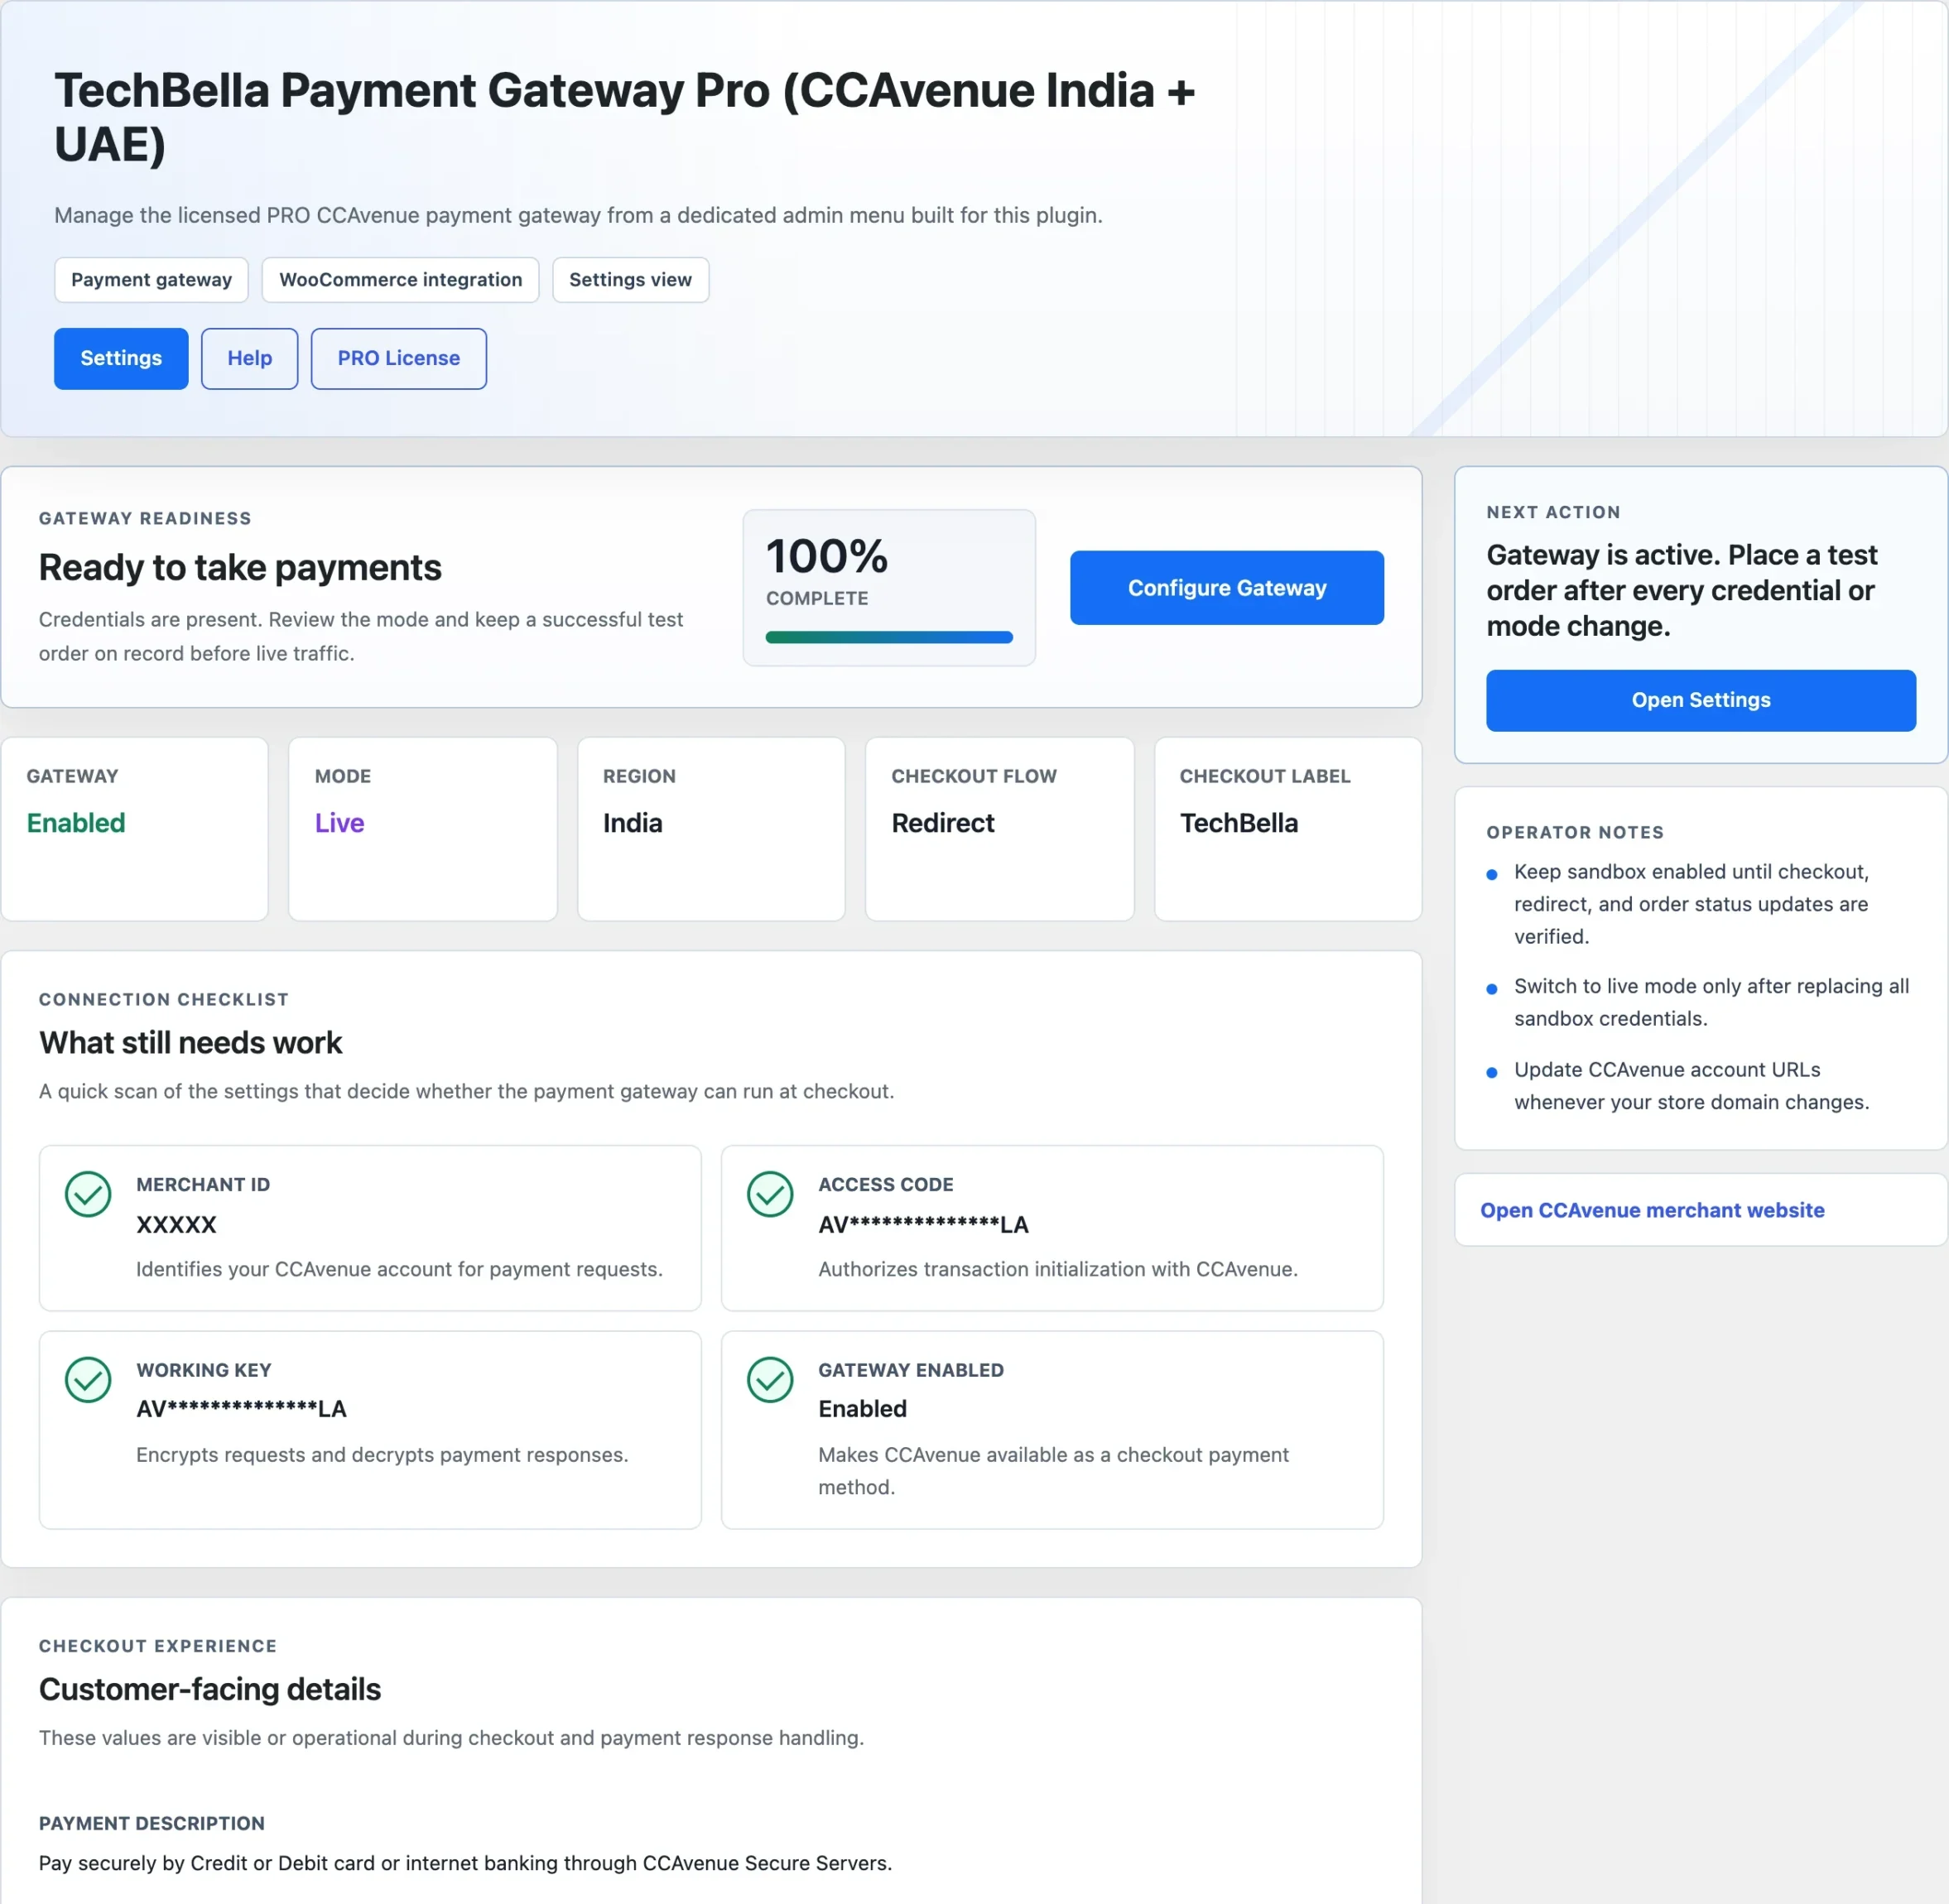
Place a test order in Sandbox Mode and confirm the order status updates in WooCommerce. The next guides explain testing and what to do if something fails.